
Originally posted by Vinyasi
View Post
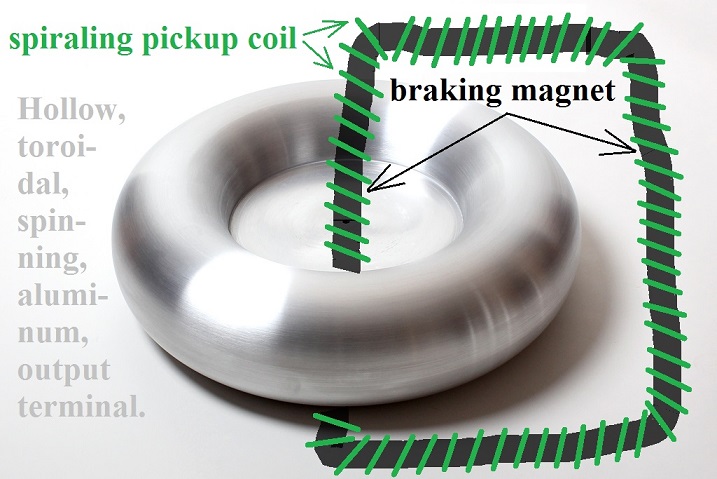
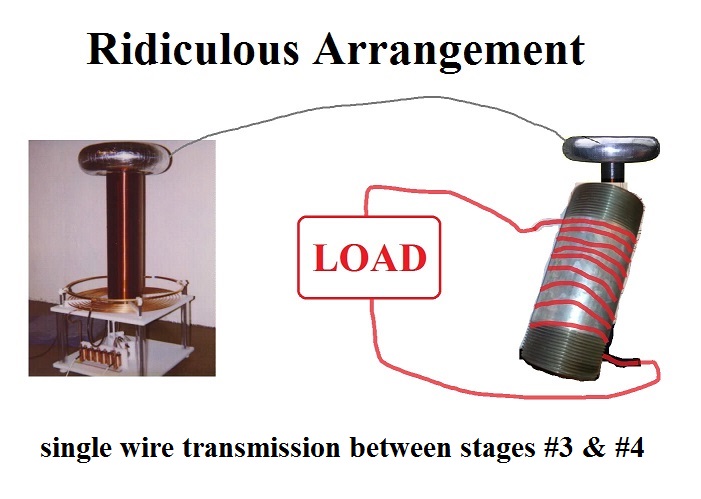
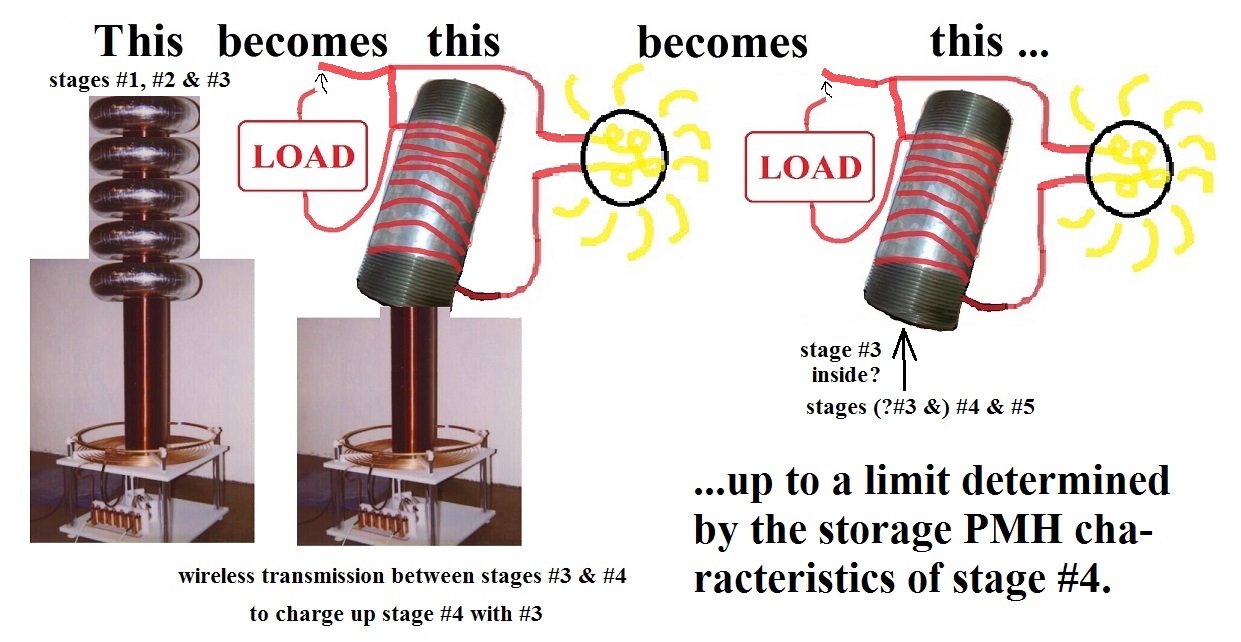
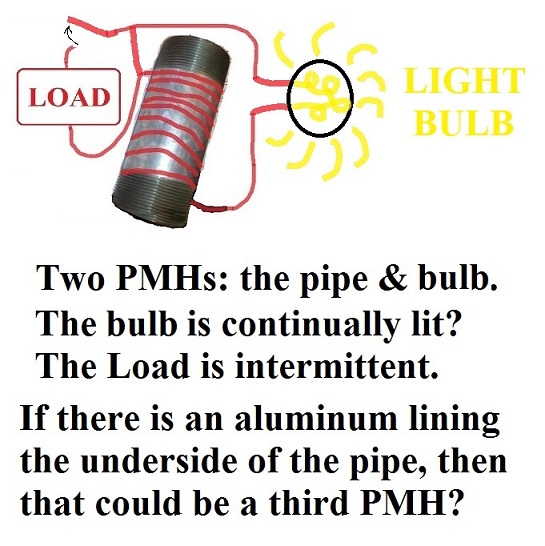
Take the cylindrical shape of stage #4 and place it inside of stage #3 as an iron PMH and wrap/wind stage #5 copper pickup coil around stage #4. In other words...
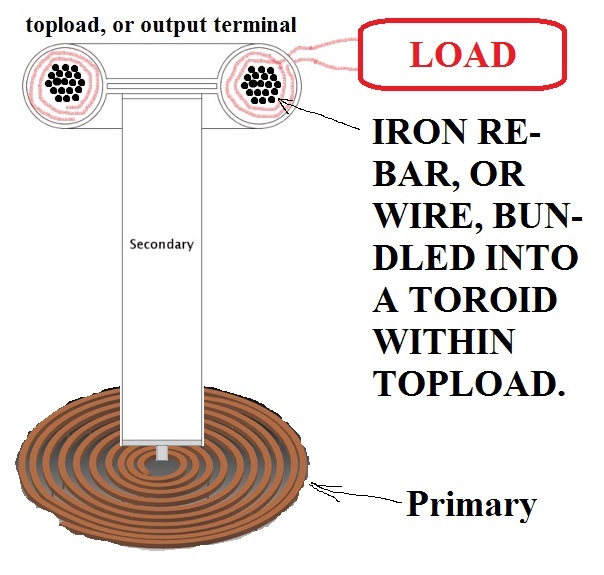
Using these YouTube instructions as a model from which to begin...
world's easiest fastest toroid for tesla coil
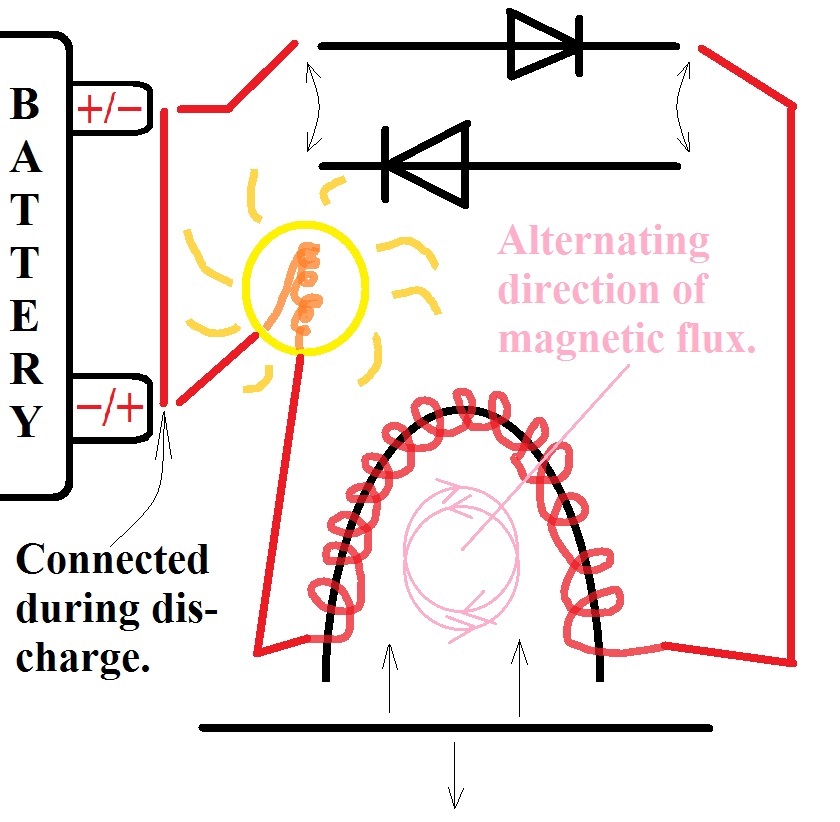
Following the directions of the above video from YouTube, if we took an aluminum ducting from the hardware store (probably used for dryer venting) and inserted into it a bundle of iron rebar (the rebar having first been wound with heavy copper wire), then both could be shaped into a circular shape with the copper coiled rebar suspended in the center of the aluminum ducting. Then the ducting could be sealed around the circular rebar cored copper coil and the ducting outfitted with its two Marie Calendar pie pans and then the aluminum duct plus pie pans could be hooked up to the single wire coming off the top of the secondary of the Tesla coil. And the two copper wires (coming out of the aluminum ducting from their winding around the circularly bound rebar) can go to a permanent small load, such as a small light bulb, and continue onward in parallel to a switch and two terminals for connecting to any number of intermittent loads. To prevent any hazard of internal arcs frying off the insulation from the copper wire on the inside of the aluminum duct / output terminal, maybe iron mesh in the form of steel wool has to be stuffed into the space surrounding the copper wire wound rebar between it and the interior of the aluminum duct?
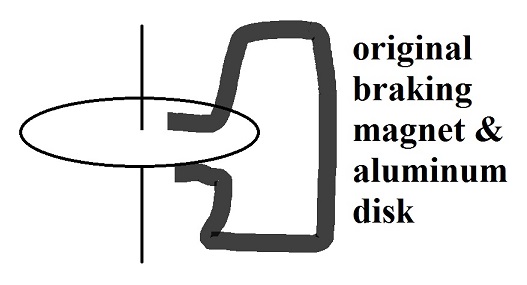
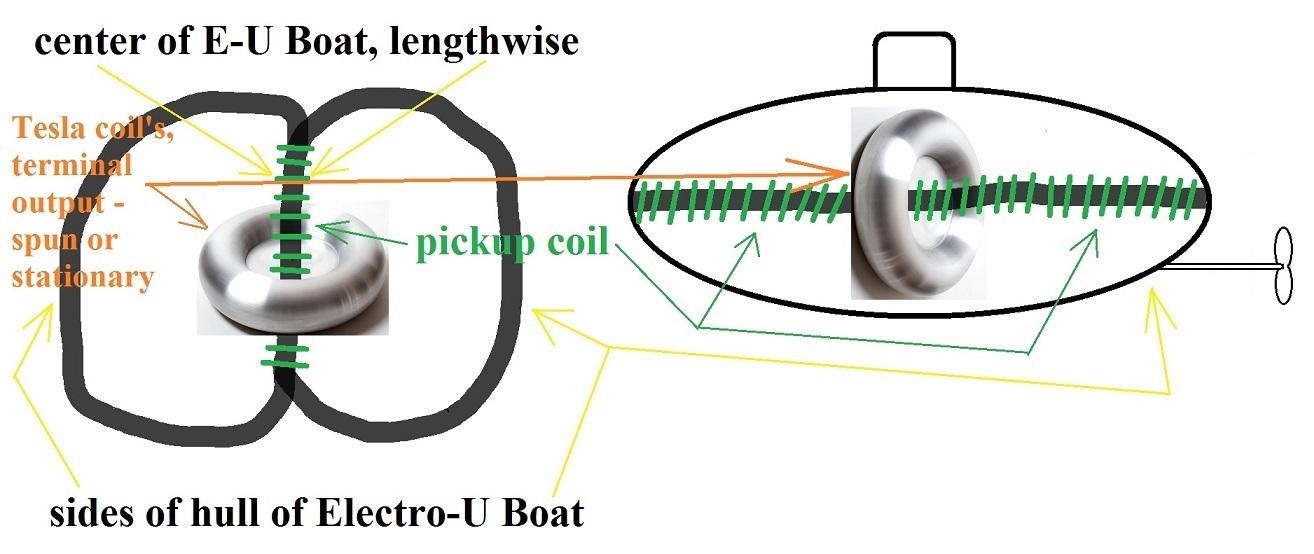

 Does a spinning toroidal output terminal require perforations all along its sides (similar to the spinning aluminum disk of a watt-hour meter)
 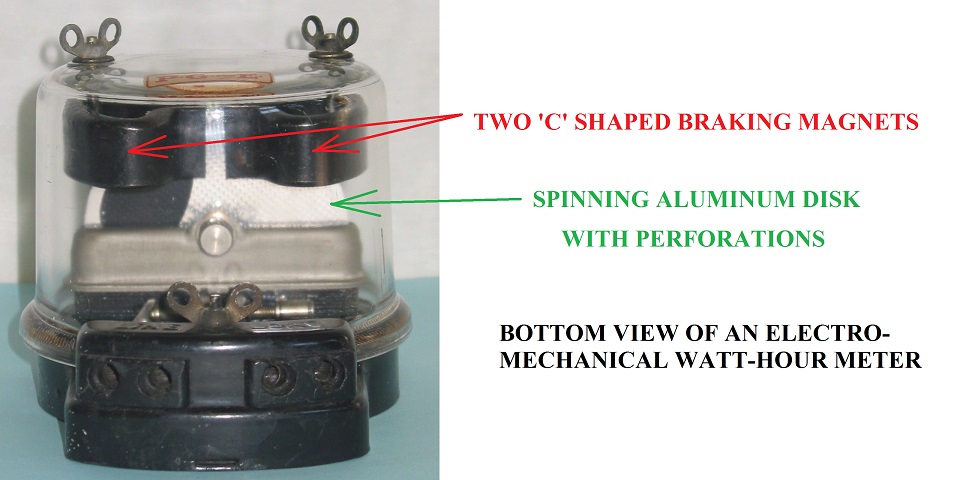 to enhance its ability to spin? Or, should it remain stationary?
 ) to raise the output (by lack of the Tesla coil's further development).


Leave a comment: