Announcement

Collapse
No announcement yet.

My Asymmetric Electrodynamic Machines

Collapse
X
 
  • Filter
  • Time
  • Show
Clear All
new posts

  • Originally posted by prochiro View Post
    @ all
    When first looking at a new design, for example the outer rotor UFU is showing, there are many deference's from previous construction. The winding being installed is one of the first things that comes to mind. We seem to be overwhelmed by these deference's and think ( WOW, this cannot be done), when in fact we have already done it in the past. Has any of you ever had a few coil wires that just would not lay down in the groove? What did you do? You put on, as little as possible, epoxy and then took a wood stick wrapped in saran wrap and clamped it down. The major difference here is that is easier to do on the new rotor because the clamps will not overlap each other. It may mean a little slower winding but I think not as with small clamps, one section is drying while next is being wound...... You see, break each part of this complicated thing down into simple parts and it will get done.
    Dana
    Hi Dana

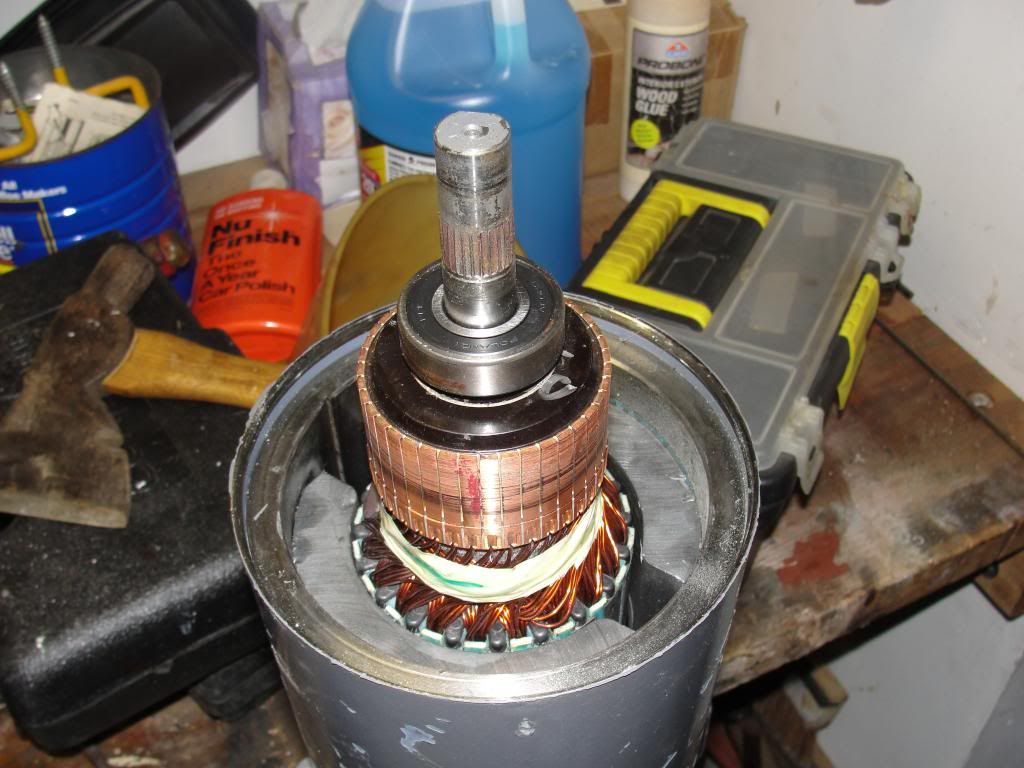
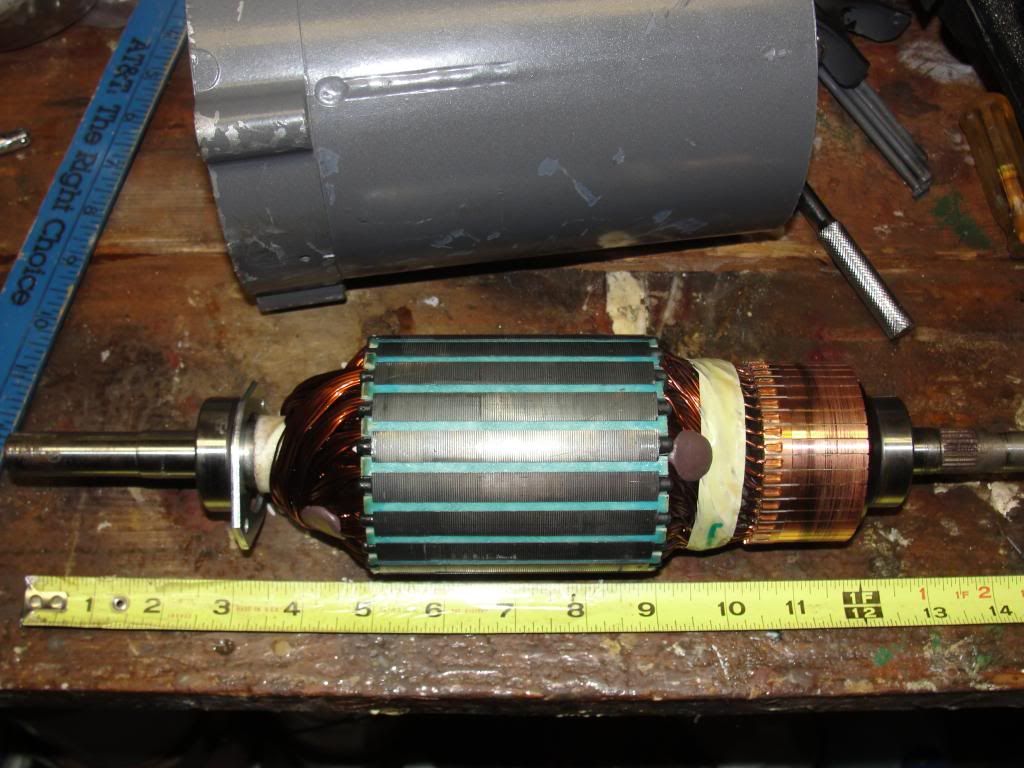
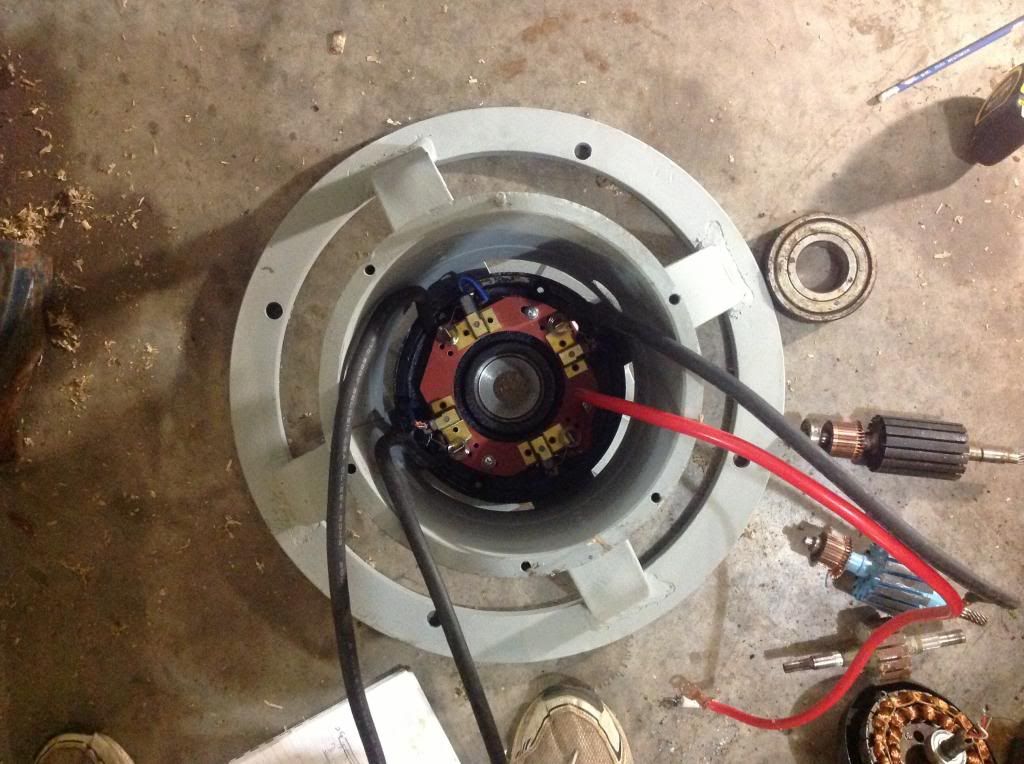
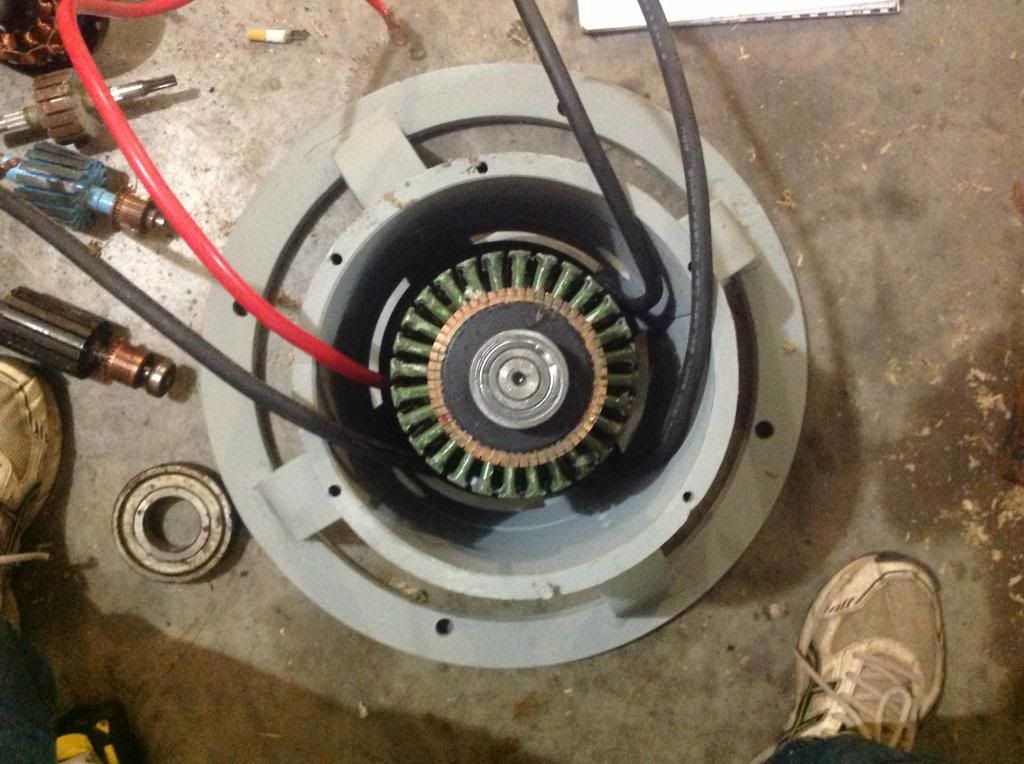
    My thought was to have the "U" shape change to more of a Triangle. The steeper edges would keep the wires in place during winding. Also the "locking" would be stronger. We need extra locking because of the added Centrifugal force. It will keep the rubbing down. Using the Triangle like method, we would have to make the stator armatures a little longer to Compensate for the "triangle" edges.

    Here's a technical question. The diameter is greater. Would we use less winding to reach the Desired resistance in the wires?

    Example: 14 winds for the inner rotor and 11 for the outer roter. The wires would be aprox the same length.

    Keep it Clean and Green
    Midaz
    Last edited by Midaztouch; 08-27-2013, 03:17 PM. Reason: Spelling

    Comment


    • Hey UFO, everyone

      I made a little vid of what I plan on doing with the big gen. If you what to check it out, any suggestions.

      In terms of the imperial-meccalte, I need an easy way to control voltsIn, from 50v to get mecc up to speed, then manually increase to 100+. Dana, Ufo, anyone, koggs, that's really all I gotta do for that setup, I can measure current now.

      Also, I opened an account at the 3D print, midas if you need a quote send me the drawing. UFO, maybe you could do a drum drawing, for the big gen, I'll get you all the measurements you need. I'll get a quote around here, I think 6" is as big as they print around here. I may be able to make something, the gen is big and easy to work on.

      The plan - YouTube

      Comment


      • Could be great.

        Hello Machine, thanks for the Vid, so just to be clear, you intend to use the imperial rotor, brush plates, brushes etc, in the small end of the housing, and make four electromagnet stators to suit imperial rotor?.

        Then you will use the imperial rotor to spin a Figuera drum in between, the large 4 stators already in the large housing, and four electromagnet stators that you will make.

        So all up, you are making a generator Yeah?

        If That is it, GREAT, it should, and could be, a real goer.

        First off, the effort to spin a non magnetic drum that size, that just has copper wire, would be very little, comparred with metallic drum, so the imperial will have a very lazy job to do, low power draw, so with that in mind, you could maybe use smaller gauge wire for the imperial rotor.

        If this is what you are planning, it will be, not an easy task, but i am sure you could build it Machine, and i wish you all the luck and patience in the world Friend.

        Warm Regards Cornboy.

        Comment


        • Hello Midaz

          Originally posted by Midaztouch View Post
          UFO

          Of course I've watched your vids, many times!

          It looks like the outside rotor, is closed on the outer end of the U, parallel to the casing. If the angle is too acute, the wires will slide towards the center. The outer angle of the wire pairing seems to be relevant in my mind.

          Keep it Clean and Green
          Midaz
          Hello Midaz,

          Like Dana wrote...we were talking "Apples and Bananas"...I thought you were winding Imperial...and were asking how to get Pairs/Coils together at rotor poles...it may be that I was also responding to Rl002 about that issue...then I thought you were referring to same thing,,,well...ok.

          Ok, My Dear Friend...I see...You are concern about the Geometry of the Outer Rotor displayed here...I presented it like this...a 28 to a 28...for better understanding...showing an equilibrium of both fields in the design...but I also wrote it was NOT the "Final CAD" design...the basic and fundamental issue here...is that you understand the main purpose of this Systems.

          Now, have you seen a Car/Vehicle Alternator Generating Coils and its Core before?

          Here...

          [IMG][/IMG]


          In this Design we have Exactly Same Thing...as our outer rotor cores...and they are wound...with plenty of wire...overlapped...and hedges on...
          Who could tell me that I can not get this same exact Static Generating Field Assembly...and convert it to Rotary?

          Let's assume what you are saying is completely correct...wires will tend to "run" to Inner Ends...creating hard times to wind...right?...

          So, instead of making the Imperial Outer Rotor based on 28 poles...We design it, make it, of 56 poles...smaller teeth...less "inclined" angles...However, we still will comprehend SAME AREA of Inner Poles that INTERACTS with Stators...so each coil will wrap around 14 smaller poles, instead of seven, like Inner Rotor Structure...

          I have made a "Wedge Wood Tool" to hold coils in place in this design, till winding next Coil...that will hold it in place

          Below is one of My Wounded Outer Rotors...and it works like a "charm"...

          [IMG][/IMG]

          It could be done Guys...otherwise, I would not have Disclosed this Systems Design here.


          Warm regards


          Ufopolitics
          Principles for the Development of a Complete Mind: Study the science of art. Study the art of science. Develop your senses- especially learn how to see. Realize that everything connects to everything else.― Leonardo da Vinci

          Comment


          • wow good idea on the outer rotor/ check out my Baldor

            purdy clever there, guy. Neat, simple outer rotor idea. not so hard to build huh?

            Broke open my half horse Baldor, lots of pleasant surprises as I see it


            First that rotor/commutator is a 40-pole do-jobby. That strikes me as a nice number. Kind of a lot though. I don't think you have laid out a design for that many poles yet.

            Second, those magnets are huge, not much space in between. As I see it I could just get out my ceramic saw again, cut them in half and re-assemble to get the 4 stator. Wall of motor is about 3/8" thick steel!! Uh-oh, kinda scary getting those things out!! Are they just glued in? Help!

            Brush holder is integrated into the endplate, looks like I'd have to epoxy in the second set. Be a little torture on the outlet side of the current wire hole, but doable, I think. Looks like brush position could be easily optimized/timed but not independently.


            Rotor and shaft looks quite usable as-is, rotor almost dead center. Rotor commutator spacing looks a little larger than it needs to be and I could get a little more space closing it in a bit.


            The wire-commutator slot connection looks permanent, and looks like I would have to solder each coil wire onto a piece of the original wire left behind.

            So Ufo, got a 40 pole design handy? Just expand the imperial design a bit maybe? Adapt a quad pentagon 10-pole design maybe?
            Last edited by sampojo; 08-28-2013, 02:28 AM. Reason: its never perfect
            Up, Up and Away

            Comment


            • Nice Plan My Dear Friend...

              Originally posted by machinealive View Post
              Hey UFO, everyone

              I made a little vid of what I plan on doing with the big gen. If you what to check it out, any suggestions.

              In terms of the imperial-meccalte, I need an easy way to control voltsIn, from 50v to get mecc up to speed, then manually increase to 100+. Dana, Ufo, anyone, koggs, that's really all I gotta do for that setup, I can measure current now.

              Also, I opened an account at the 3D print, midas if you need a quote send me the drawing. UFO, maybe you could do a drum drawing, for the big gen, I'll get you all the measurements you need. I'll get a quote around here, I think 6" is as big as they print around here. I may be able to make something, the gen is big and easy to work on.

              The plan - YouTube

              Hello Machine!

              Regarding the Imperial/Meccalte I would think of using a "Voltage Dialer" similar to the one Hitby13kw used on one of his latest videos...

              There are some Old style but still making them...Potentiometer Type Controllers for High Voltages...we could look them up...

              Now, about "The Plan"...

              Wow!...You really want to beat the S**T out of this "whole deal"...don't you?...

              Well...I believe withis "Monster Generator"...You will make Tariel Kapanadze Nine Volt Battery test...running a big Gen...looking like "Child's Play"...

              Yeah, Cornboy kind of completed your Plan (if it is correct though)...but yes, if that is...that would be my friend...it would happen definitively.

              I will tell you some things...however, I am sure you have already thought about it...

              I am sure you eventually plan to feed the Imperial Stators...with just "some" of the Huge Generator Output...right?...that could be an interesting test...

              Also, You could feed both, Imperial Stators and Brush Gates with same Quad Pulsers Signals...try hooking them first in "Serial Firing"...this will decrease even more Amperage draw...then you could afford a nice thick gauge wire for both, Stators and Rotor Pairs...that would generate a very robust/stronger magnetic fields...

              I will help you through this Project my friend.


              Warn Regards


              Ufopolitics
              Principles for the Development of a Complete Mind: Study the science of art. Study the art of science. Develop your senses- especially learn how to see. Realize that everything connects to everything else.― Leonardo da Vinci

              Comment


              • 3D printing

                Originally posted by machinealive View Post
                Hey UFO, everyone

                Also, I opened an account at the 3D print, midas if you need a quote send me the drawing. UFO, maybe you could do a drum drawing, for the big gen, I'll get you all the measurements you need. I'll get a quote around here, I think 6" is as big as they print around here. I may be able to make something, the gen is big and easy to work on.

                The plan - YouTube
                Ok,

                I'm coming from the investor side of 3D printing companies. I've researched the companies and bought stock. So, I have some understanding of their capabilities and future capabilities are.( I'm sure it's much greater than I know)! I look forward the outer rotor build. Lets wait for the Animated CAD from UFO. Then we can put our heads together to design some good solutions.

                Hey, I like your vid! Keep going forward, buddy!


                Keep it Clean and Green
                Midaz

                Comment


                • Nice Machine!

                  Originally posted by sampojo View Post
                  purdy clever there, guy. Neat, simple outer rotor idea. not so hard to build huh?

                  Broke open my half horse Baldor, lots of pleasant surprises as I see it

                  Hello Sampojo!

                  Wow!!, nice and robust PM Stators!!...

                  First that rotor/commutator is a 40-pole do-jobby. That strikes me as a nice number. Kind of a lot though. I don't think you have laid out a design for that many poles yet.
                  ...Wrong my Friend....Think...think more...Isn't 40 divisible by FIVE?...Doesn't this "rings a Bell"?...

                  Second, those magnets are huge, not much space in between. As I see it I could just get out my ceramic saw again, cut them in half and re-assemble to get the 4 stator. Wall of motor is about 3/8" thick steel!! Uh-oh, kinda scary getting those things out!! Are they just glued in? Help!
                  [IMG][/IMG]

                  Yes they are Huge!!...Now Could You imagine what a waste has been ...to use only Half of those nice Stators Magnetic Strength...while "Other Side" Magnetic Field have been "dissipated" (better call it wasted) into that massive steel frame...to do absolutely nada...nothing.

                  ...Except to "justify" the burning/exploitation of how many trillions of Oil Tanks?...A Waste of more than 130 years my Friend...to make "wealthier" a few Families...right?

                  Well...apart from my "Last Name"...Politics...

                  In my opinion...try building it/running it first without any Major Modifications on Stators/Brushes...You could have very strong "Magnetic Jumps" with those Stators at 180º...just as they are now.

                  Brush holder is integrated into the endplate, looks like I'd have to epoxy in the second set. Be a little torture on the outlet side of the current wire hole, but doable, I think. Looks like brush position could be easily optimized/timed but not independently.


                  Rotor and shaft looks quite usable as-is, rotor almost dead center. Rotor commutator spacing looks a little larger than it needs to be and I could get a little more space closing it in a bit.

                  Yeah, shaft is pretty long to house two commutators for an Asymmetric Design...that's great!

                  Now, that rotor with very narrow diameter (almost same as commutator)...was destined to have high torque low RPM's in "Symmetry World" .

                  The wire-commutator slot connection looks permanent, and looks like I would have to solder on my connection a piece of the original wire left behind.
                  DO NOT Solder wires going to commutator in such big machine!...either use very small butt connectors, keeping same original wires...or make small pieces of heavier gauge wire, insert them by pressing them into slots and bend them into a "Hook" shape, to connect to your wires...

                  So Ufo, got a 40 pole design handy? Just expand the imperial design a bit maybe? Adapt a quad pentagon 10-pole design maybe?
                  You almost "got it"...yes, [40/5=8] or an "Octa-Pentagon" Design, Eight Pentagons my Friend......


                  Warm Regards


                  Ufopolitics
                  Last edited by Ufopolitics; 08-28-2013, 04:09 AM.
                  Principles for the Development of a Complete Mind: Study the science of art. Study the art of science. Develop your senses- especially learn how to see. Realize that everything connects to everything else.― Leonardo da Vinci

                  Comment


                  • Hey guys

                    Cornboy, that is the plan. Simple, eh. You know, this is really not gonna be hard. Building and winding the drum, is still unknown.

                    We are gonna kill this, UFO. There are so many possibilities with this setup, I'm so excited to start this. I'm gonna look up voltage dialers, try to figure out how big of coils I'm gonna use. We can design for caps, whatever.

                    I'll look at this tomorrow, harder to strip this imperial rotor, then last one. Hey Cornboy, I'm going to wind same gage on rotor, the imperial is working so good, I need to see if its the wide gaps or not,..when get an itch, ..I gotta scratch.

                    Machine

                    Comment


                    • Exciting Again.

                      Hey Machine, as UFO was discussing with me in earlier posts, on figuera thread, you could use the same pulse, that feeds your imperial prime mover's Wound stators, and rotor, to feed the exciter stators in the generator, and imagine the reverse flow from doing that!!. Especially if all were hooked together in series so you could up the wire dia, as UFO says.

                      Very Exciting,

                      Regards Cornboy.

                      Comment


                      • @sampojo:
                        I like your motor! Very robust. But please regard armature poles to be 20 only and commutator to be 40! Same like my vacuum cleaner motor. Regard two segments of commutator to be related to one single armature pole.
                        JS
                        Experts spend hours a day in order to question their doing while others stopped thinking feeling they were professionals.

                        Comment


                        • Hey UFO

                          I finally stripped the asymmetric gen. That was a pain in the a&@. Too much resin, and all those coils. But it's done and I feel so good. Cornboy, this is even going to be easier then I hoped. Hate to take up a lot of space UFO, but i know you love this stuff too. You gotta see how this imperial was made for this frame. Only going to need minor mods, for this section.

                          You can see in hole, where comm sits.


                          From inside


                          Oh the things we can think

                          Comment


                          • Maybe?

                            Hey Machine, by the look of that you could save yourself a lot of time and trouble, by just making a couple of large bushes, and fitting the whole imperial with PM's straight into the end, ready to drive the figgen. It looks like it would fit with clearance ?
                            Regards Cornboy.
                            Last edited by Cornboy 555; 08-29-2013, 04:55 AM.

                            Comment


                            • Your Dream is coming True...

                              Originally posted by machinealive View Post
                              Hey UFO

                              I finally stripped the asymmetric gen. That was a pain in the a&@. Too much resin, and all those coils. But it's done and I feel so good. Cornboy, this is even going to be easier then I hoped. Hate to take up a lot of space UFO, but i know you love this stuff too. You gotta see how this imperial was made for this frame. Only going to need minor mods, for this section.

                              You can see in hole, where comm sits.


                              From inside


                              Oh the things we can think
                              Hey Friend,

                              Wow!, never thought the Imperial Rotor and End Caps would fit so well within that housing!!...

                              Where TF did you get those "Made to Fit" Stators for Imperial Rotor??!!

                              Awesome!!...forget "the space"...take the whole page if you like!


                              That's gonna be a "Dreamed Coupling"...


                              Warm regards


                              Exciting Times ahead...


                              Ufopolitics
                              Principles for the Development of a Complete Mind: Study the science of art. Study the art of science. Develop your senses- especially learn how to see. Realize that everything connects to everything else.― Leonardo da Vinci

                              Comment


                              • I know Cornboy, if the whole imperial frame could fit in might consider, but it won't quite fit, we could even just go two pole, I want wound stators so bad, every damn one of them.. We are going light this b**** up, Cornboy, eh UFO.

                                Doesn't that fit nice, UFO. It's so easy, even if we have to mod something, everything is centered.
                                There are no stators in yet, the other excitor was a little smaller, so we'll need new ones.

                                Anyway, going to need a couple days to think about stators, bearing couplings, you know. , wind the motor.

                                Later Comrades

                                Comment

                                Working...
                                X