 Tweet
Tweet
UK Import
Hi All
Is there anyone also from the UK that may like to import a UFO motor kit?
Regards
John
Hi All
Is there anyone also from the UK that may like to import a UFO motor kit?
Regards
John


 [/IMG]

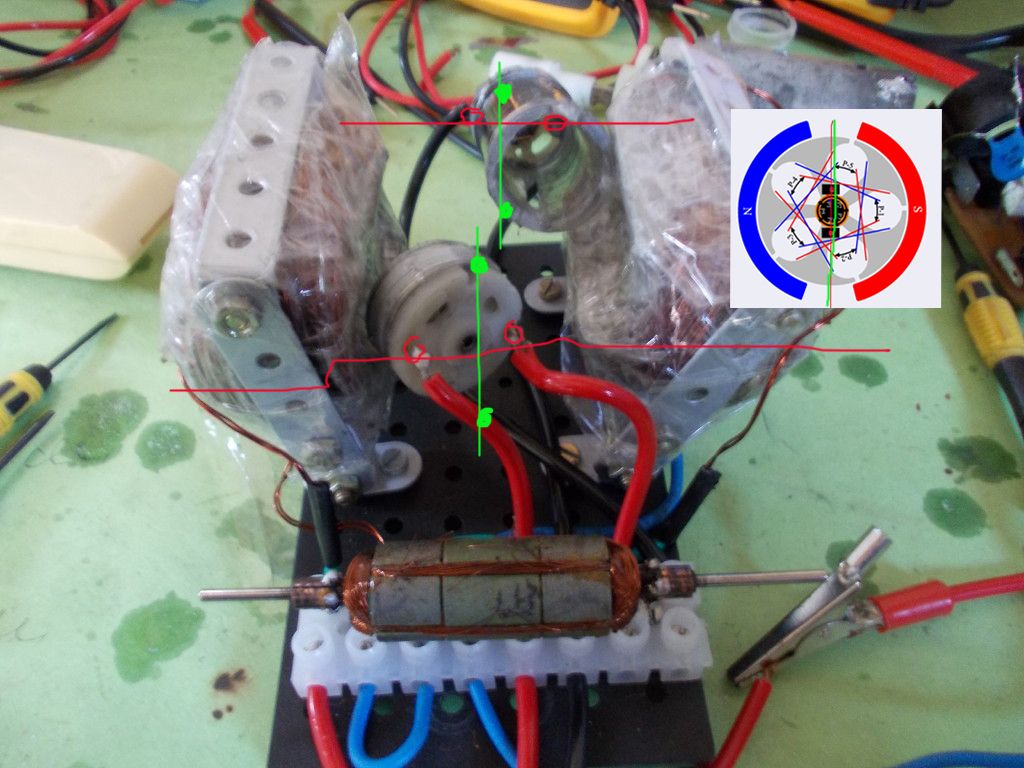
") ) As I see it I just need to learn how to wire the rotor between the 2 commutators and assemble.
) As I see it I just need to learn how to wire the rotor between the 2 commutators and assemble.  I have this shower stall battery operated spray cleaning thingy I got a Target and I bought this big pack of Energizer batteries for it and they must have been old, I only get 4 cleanings per battery set. I figure I should convert its motor so it runs better. Perfect application don't you think?

Comment